Here is the report form another test game of my Lone Blade solo rules for Song of Blades and Heroes.
This time, I played using base Revisited SBH rules.
Orcs are played by human player (me). They start in the South West corner and their only goal is to get out of the table through the North East one.
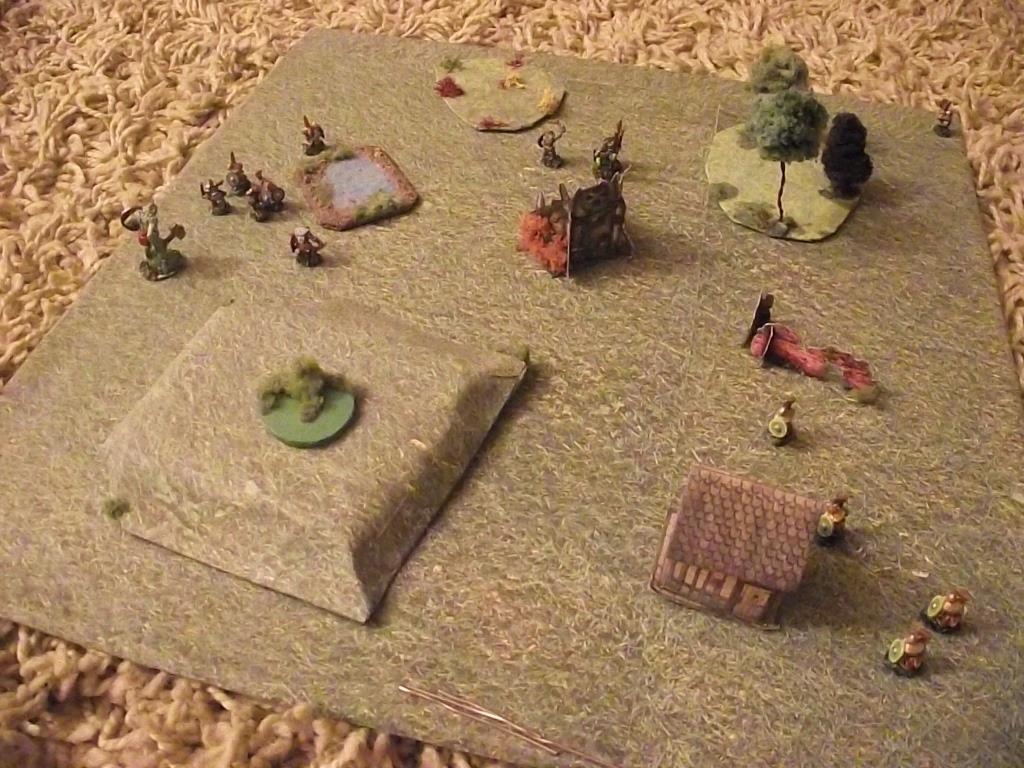
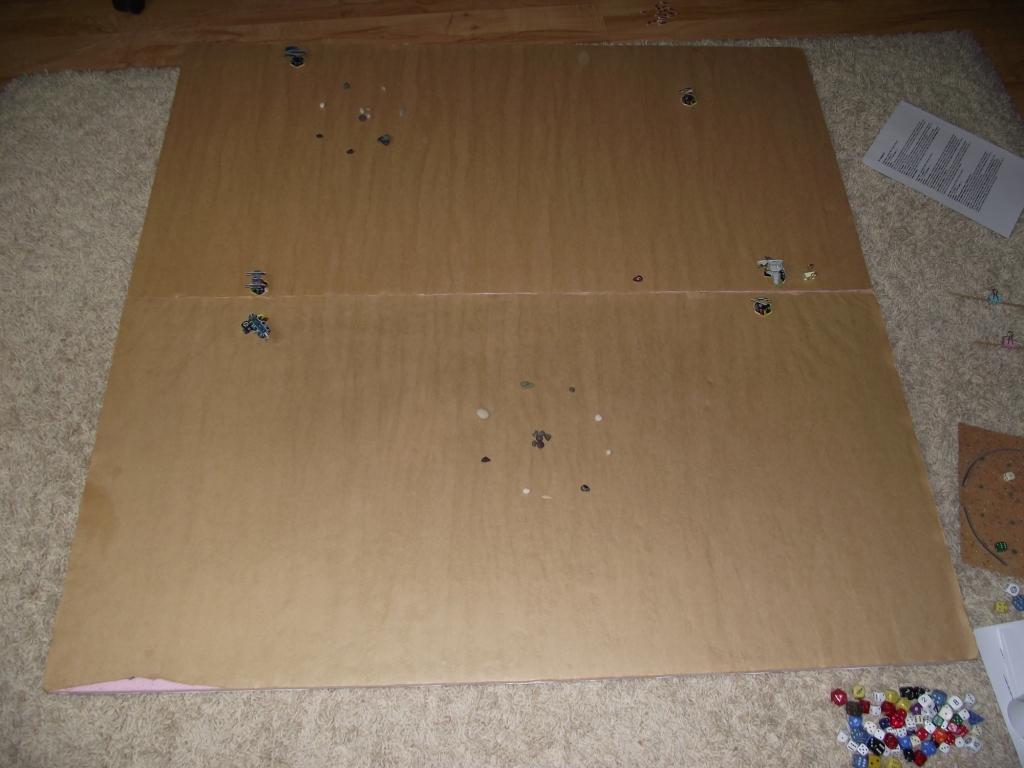
Dwarfs, played by AI are preparing ambush among the ruins. They have 3 elite warriors deployed in NW corner, 4 young warriors in the SE, while exit was covered by dwarf thief and orcslayer (ouch).
To compensate for the killer, orcs took a troll with them.
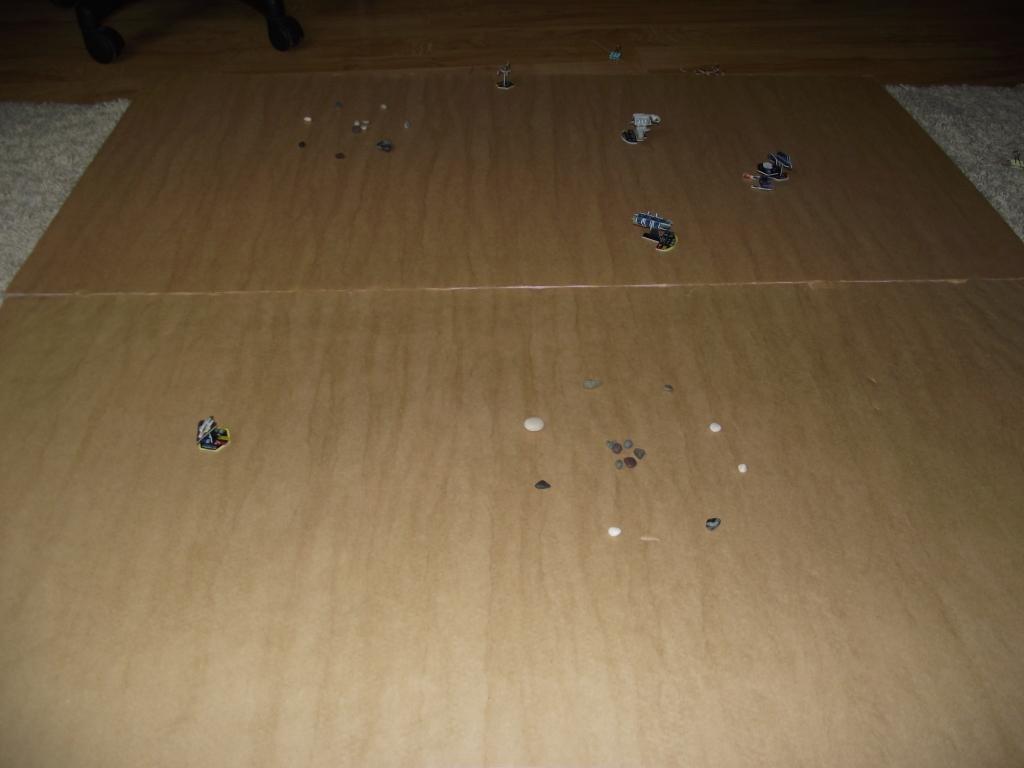
Orcs made a run for NE corner, but some of them were intercepted by Elite dwarf warriors. Slow moving Troll tagged behind.
In order not to provoke orcslayer, orcs to the front turned right, south of the forest to engage young warriors. Troll managed to join the brawl and score the first kill against elite warrior.
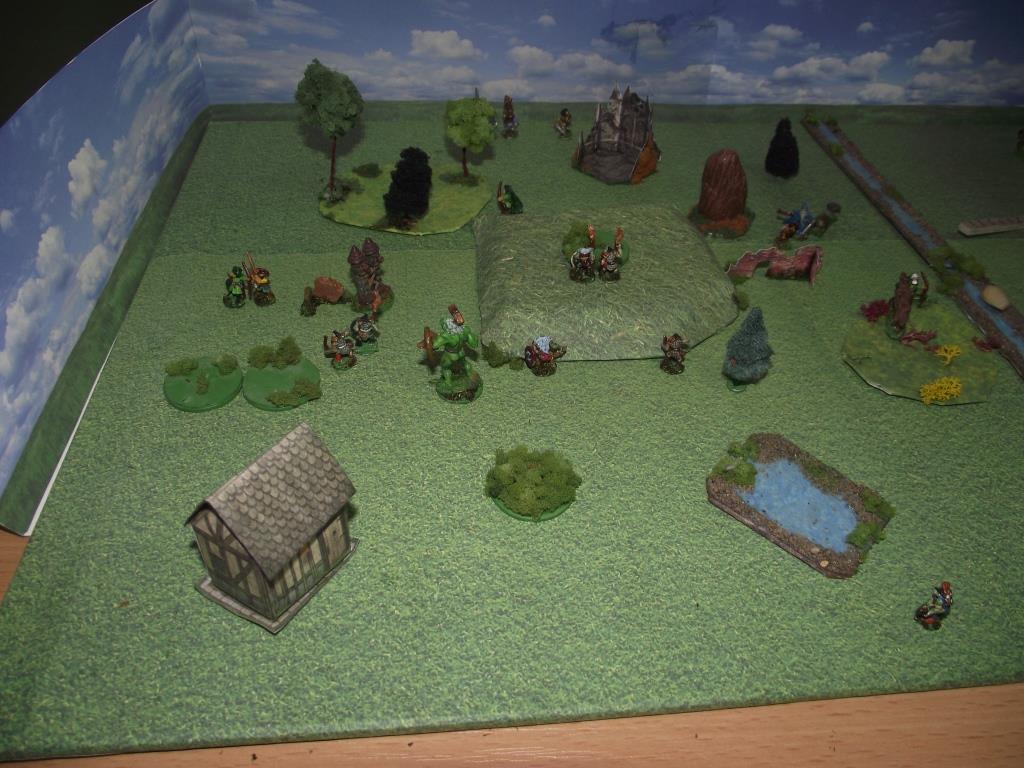
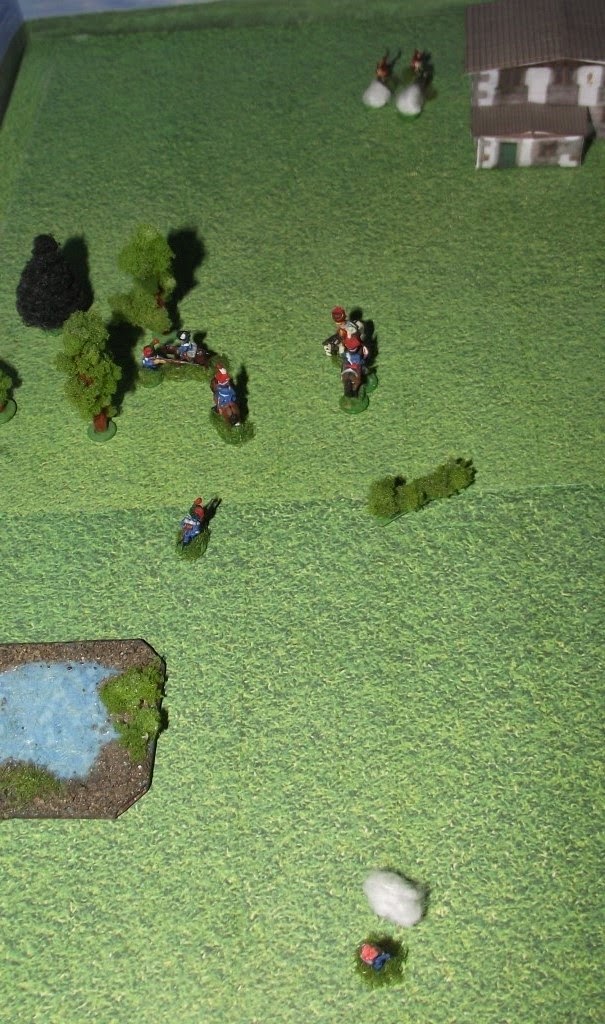
Lone Blade solo system is not meant to simulate human opponent. It plays and feels differently, and so the tactics should be adjusted. On the picture below we see orc leader getting ready to return towards Troll and try to kill a dwarf in melee with him. In Lone Blade figures within 1 medium of the enemy will act before figures in melee, so orc soldiers to the right should take some burden, allowing leader to clean the situation to the left....
..unless of course leader rolls 3 failures, and that is exactly what happened. It allowed all dwarfs to activate, and what is even worst, elite dwarf warrior scored gruesome kill against the prone orc. Troll failed morale check, and being close to the edge quit the field.
This was beginning of the end. Orcslayer reached Orc Leader and killed him in fair duel. A major victory for the dwarfs and for the Lone Blade AI system.
Showing posts with label Song of Blades and Heroes. Show all posts
Friday, July 7, 2017
Saturday, April 29, 2017
Solo SBH playtest, game one
I started developing the new AI engine for Song of Blades and Hero rules, so the times has come to test my ideas.
For this game I decided to play ASBH and to take the side of the bad guys - namely humans. My warband had 100 points wizard, Shooter with Composite Bow, Tank with heavy armor and heavy weapon, and 3 low cost warriors, two with spears and one with just a hand weapon.
Orcs warband consisted of 10 models from ASBH rooster rolled randomly.
I played a Quest for magic item scenario, modified in such a way that warbands started in the corners, and needed to exit through the corner to win.
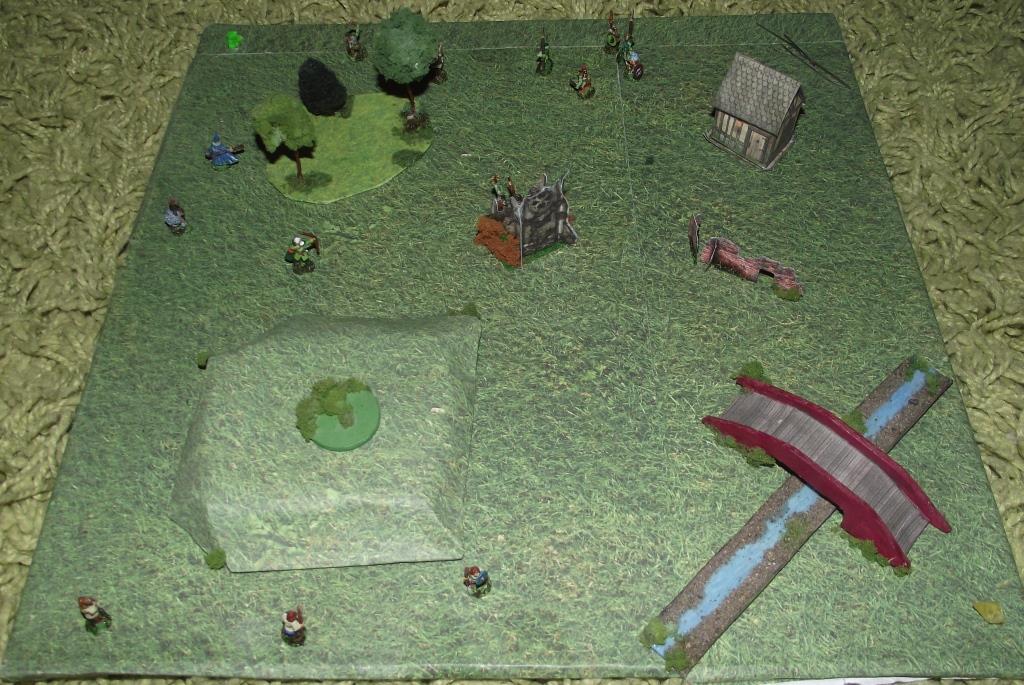
I started the game by sending wizard, tank and archer towards center, while the low cost models moved to take position on the bridge in order to defend access to the marker across the river.
In my Solo system AI has significant activation advantage, so orcs moved fast. They reached first marker before my models, but it turned out to be nothing.
Tank, archer and wizard moved toward the marker in the north west corner, and all the orcs followed them. In this system, AI is not too smart, but it has other advantages and means to challenge solo player.
Archer drew the first blood, sending orc spearman out of action.
But then I made tactical mistake. Instead of charging the nearest orc in order to keep enemy warband as far north as possible, at least until my slow moving infantry reach the defensive position, Tank succumbed to the wizard's cries and checked the second marker.
As it turned to be nothing, orcs rushed south towards the final objective, with my warriors still rather far away from the bridge.
before they were both gruesomely massacred by the orcs.
While I made the beta rules of the Lone Blade AI engine for SBH already available in some SBH groups over the social networks, I still need to play few more test games and fix some bugs before giving you the final product.
For this game I decided to play ASBH and to take the side of the bad guys - namely humans. My warband had 100 points wizard, Shooter with Composite Bow, Tank with heavy armor and heavy weapon, and 3 low cost warriors, two with spears and one with just a hand weapon.
Orcs warband consisted of 10 models from ASBH rooster rolled randomly.
I played a Quest for magic item scenario, modified in such a way that warbands started in the corners, and needed to exit through the corner to win.
I started the game by sending wizard, tank and archer towards center, while the low cost models moved to take position on the bridge in order to defend access to the marker across the river.
In my Solo system AI has significant activation advantage, so orcs moved fast. They reached first marker before my models, but it turned out to be nothing.
Tank, archer and wizard moved toward the marker in the north west corner, and all the orcs followed them. In this system, AI is not too smart, but it has other advantages and means to challenge solo player.
Archer drew the first blood, sending orc spearman out of action.
But then I made tactical mistake. Instead of charging the nearest orc in order to keep enemy warband as far north as possible, at least until my slow moving infantry reach the defensive position, Tank succumbed to the wizard's cries and checked the second marker.
As it turned to be nothing, orcs rushed south towards the final objective, with my warriors still rather far away from the bridge.
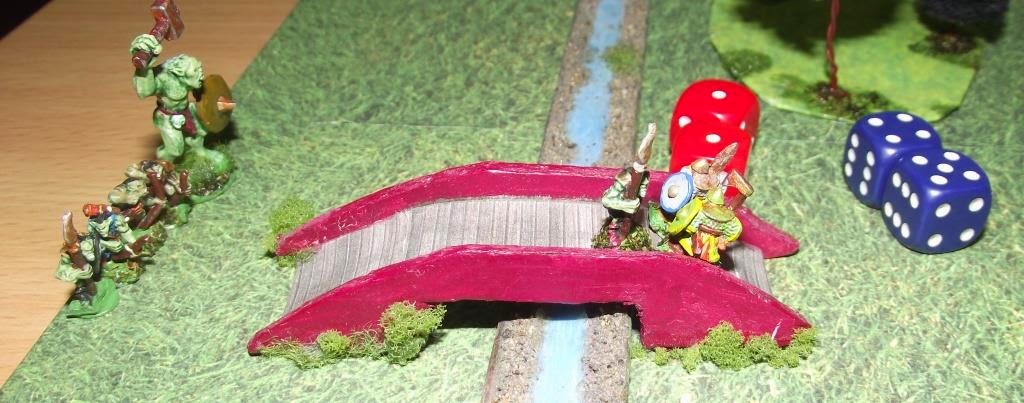
Some lucky rolls allowed my wariors to reach the bridge.
Battle for the bridge was desperate, but despite the odds, warriors managed to survive for two turns,before they were both gruesomely massacred by the orcs.
But the valiant sacrifice of two spearman was enough for the Wizard, the Tank and the Archer (who lost his composite bow with the final shot of the game, luckily without consequences) to reach the bridge and kill enough Orc models to invoke the Dead outnumber the Living rules.
The game was really tense. It ended with a victory to the human side, but only due to some lucky rolls, and due to some holes in solo mechanic design I detected.While I made the beta rules of the Lone Blade AI engine for SBH already available in some SBH groups over the social networks, I still need to play few more test games and fix some bugs before giving you the final product.
Saturday, November 5, 2016
Darth Agnan's High Stakes
Ganesha Games is preparing a new light storytelling d6 RPG. The game is in the Beta Testing phase, and I am lucky to be one of playtesters, especially having in mind that this is extremely solo friendly RPG.
For my first play through, I decided to continue my Star Wares campaign following adventures of young Sith Darth Agnan and his friends, stormtroopers Athos, Portos and Aramis.
Previous adventures of the group (played using different rule sets) can be found here and here.
Here are the stats for our heroes, using High Stakes character creation mechanics:
Back at his corvette "The Guillotine", Darth Agnan wants to interrogate Ewok prisoner.
Task difficulty 4.
Darth Agnan uses Aura 4 + 1 from Trusted by common folk trait. He also decides to rise the stakes - if he fails Ewok will die during interrogation process, and Sith will loose face, by gaining epithet of Ewok killer + 1 for the total of 6 dice to be rolled.
After some dice exploding, I ended with 3 successes and 3 complications. So....
Ewok committed suicide by releasing Ogam gas from device hidden on his body (presence of gass is complication 1). I am using the fact that I rolled a 6 (which was later exploded) to add a story telling element - Darth Agnan was ready for this, so he upgraded his Sith suit with Ogam gas-mask. He is unaffected by gas in the room. But (complication 2) after detecting Ogam gas in the room, ship automatically locked the prison room away from the rest of the corvette, leaving Darth Agnan locked inside. Furthermore (complication 3) Imperial headquarters are automatically informed about presence of the Ogam gas on "The Guillotine", and they are sending a cruiser to destroy the corvette in order to avoid further ecological catastrophes.
Aramis tries to reconnect ships ventilation system in order to transfer Ogam gas from prison cell to other, unused room and to refill prison with fresh air.
Task difficulty 4.
Aramis uses Mind 4 + technician trait +1 + he knows the ship +2 tactical dice.
It is success, but with 1 complication - Ogam gas was transferred to the gun turret, and in this way crew lost control of the ship's main weapon.
Portos uses his Body 5 to break the door to the prison cell (difficulty 2). Success with a complication - breaking electricity circuits in the door made ship transfer all its power to life support systems. All lights in the ship turned off, and team has to return to the cockpit in absolute darkness.
Darth Agnan taps his Light saber trait for automatic success of easy task. Guided by the light of his saber, team safely gets to the cockpit....
...only to see the imperial cruiser approaching and taking attack positions.Athos contacts commander of the cruiser, trying to persuade responsible persons that Darth agnan should be given a chance to save his ship.
Aura 3 + knows people 1 + friend with political elite 1 + rising stakes (loss of the ship) 1 vs task difficulty 3 - success with one complication and one Story element - Tweelek female Admiral Baaaang (story element) agrees to give one chance to the team, but if the first success fails, she will destroy the corvette immediately (complication).
Aramis and Darth Agnan take the two seat Tie Fighter. They will try to destroy gun turret without damaging the rest of the ship. Aramis will do the actual shooting while Darth Agnan will do the piloting.
Task difficulty 3.
Body 2 + Strategist trait 1 + Wants to be general relationship 1 + help from the Pilot trait +1 to total of 5.
Success with one story element and one complication.
Aramis made a clear shot, so clear that he managed to separate gun turret from "The Guillotine" without damaging either one of them. But turret filled with Ogam gas was pulled by gravitation of the nearby planet, and soon it was lost among debris orbiting it.....
"The Guillotine" was beamed by cruiser into repair bay. It will take some time and lots of money to repair the ship.
Our heroes are not a step closer to solving the mystery of the Ogam gas. Further more, container with deadly load is lost somewhere in inhabited space, and there is a big danger of falling into wrong hands. And our heroes have no means to go after it....
To be continued.....
Impressions: High Stakes works great as solo RPG. System of Story elements and Complications really drives story onward, player never knows what will happen next.
Once it gets published, this system will be highly recommended for all soloists.
Labels:
High Stakes,
SF,
Song of Blades and Heroes,
Star Wars
Friday, July 29, 2016
River crossing
Song of drums and shakos is till my favorite Napoleonic skirmish game. And my Lone shako solo rules still performs perfectly as enemy AI.
In my last game, I decided to try to move some Polish troops over the river and through the ambush prepared by British rifles.
The gal of the polish side was to cross the northern river, then move across the bridge and rush into the village.
But early in the game, rifle fire took it's toil on several Vistula legion soldiers.
One brave polish Voltigeir reached marksman proximity of rifles officer, but missed. A kill here could make a game take completely different turn.
But when the brave voltigeur was killed, my squad fell below half of the starting value, morale start affecting them and they fled north of the river.
Victory for the British.
Labels:
6mm,
Napoleonic,
Song of Blades and Heroes
Friday, April 8, 2016
4 against darkness
Recently, I had a chance to play several solo dungeon crawling games, from different publishing companies.
One of them is 4 against darkness by Ganesha games.
So, team consisting form rogue, cleric, wizard and elf descended into the dungeon.
1. Entrance
2. Trapdoor, guarding 5gp. Rogue disarmed it.
3. Empty room. Elf found a clue leading to the location of the rich merchant who dissapeared here recently.
4. Another empty room. Nothing here.
5. This room is a home of the small dragon. Party retreated from the room, shutting the door behind them, but not before they were all burned by dragon's breath.
6. 6 Fungi Folk. After killing them, party found wand of sleep that was given to Wizard.
7. 2 Trolls were guarding this tunnel. On their bodies, party found another wand of sleep. This one was given to the Elf. This tunnel contains a short-cut to dragons lair, which party noticed for the future.
8. Party met wandering alchemist, but they were not rich enough to buy anything from him.
9. 3 trolls on the crossroads. Tough fight, but only 5gp of treasure.
10. 6 orcs. Same as above.
11. Weird monster - iron eater. Put to sleep by wizard. Elf gains a level.
12. Empty tunnel, but the search brought attention of wandering boss monster - Orc Brute. Wand of Sleep did the job again, but party become seriously injured by this time, s they did some healing. Wizard gains a level.
13 and 14 - empty, containing clues. Elf was now sure that merchant is near.
15. Level 4 trap, disarmed by rogue. 130 gp hidden. Finally a better loot. Returning to crossroads, party encountered 4 giant centipedes (wandering monsters) but they were easy pray for our heroes.
16. 6 zombies guarding a merchant chained to the wall. Party killed the undead and saved their target.
On their way back, party was attacked by a boss wandering monster - a mummy. wizard hit it with the fireball, and cleric finished the job. Rogue tried to level up but rolled a 1, so he stayed on the first level.
The party escorted merchant back to town and picked up their reward.
Verdict: 4AD is a fast game - you can play a level of dungeon within an hour. What I really liked are monster reaction tables - when you meet a monster you can select to take initiative and attack first, or roll to see monster's reaction. Some monsters will fight - and then they strike first. But some will run away, or let you pass, ask for a bribe, offer help, and some will even give you quests.
Another important thing to know is that 4ad is a light game. You can play it anywhere and everywhere, all you need is some graph paper and a way to roll some d6. Still with quests, clues, etc, there is enough material for 10 to 15 games before you explore main possibilities. So far, basic rules offer just one level of the dungeon, but main book mentions expansion called Deeper levels that is in the pipeline, that should provide further fun.
Finally, for the more creative type out there, this game is fairly easy to customize to your taste. Player can create tables similar to the ones from the book with ease, and it will not spoil the fun of exploring the dungeon.
Recommended.
PS. There is also a competition by Ganesha games, so if you play 4AD and make an AAR of your exploits, connect the publisher, you might get a chance to win some Ganesha games products.
Tuesday, March 29, 2016
BattleSworn solo
BattleSworn by Ganesha Games (the ones producing Song of Blades and Heroes and other games in the range) was always a game that tickled my imagination. It has a great mechanics since players bid for their actions, which is really innovative in wargaming world.
But as the game was not playable solo, I stayed away from it.
Recently, Ganesha published BattleSworn supplement Knights and Knaves that included solo rules for the game, so I rushed to buy both books.
After reading the solo rules, I had to say that idea behind them is good, and it really seemed to me that I will add BattleSworn to the list of my favorite rules.
So, I took out my orcs, made a human warband to serve as enemy, and started playing.
Unfortunately, I soon understood that solo rules for BattleSworn will not be my cup of tea. I found myself battling not against imaginary opponent, but against statistical odds. My formal education in this field didn't help. Actually, if one plays statistically correct, one can almost always predict AI moves. This gave me slow, but steady advantage, and after 10 bids (something that should represent a length of typical battle) I managed to keep AI almost unable to move, kill two of his soldiers while keeping my forces out of harm's way.
It was obvious to me that even if I played 20 or 30 bids nothing much would change. I would kill enemies one by one, while AI would not be able to move rest of his forces from the starting line. So, I ended the game there.
So, the verdict: BattleSworn seems like the really good game. Against live opponent, able to make some surprising decisions, it should be a fun experience. But it is just not meant to be played solo. It is not even question of better solo rules - the ones presented in Knights and Knives are as good as they can get. ButtleSworn simply isn't solo friendly.
I do hope to play it against some of my friends these days.
Wednesday, December 2, 2015
Advanced SoBH action
One of my favorite skirmish games - Song of Blades and Heroes is now available in two flavors - as normal and advanced game.
Advanced game was funded through kickstarter, and, among other things, it features lots of new traits, magic system developed to higher detail, and a very neat reaction system that allows your models to step in with the quick action during the opponent turn.
As kickstarter backer, I received the playtest version of the game few days ago, so I decided to do a little solo trial.
I played a small game, where two 100 points warbands (troll, orc archer and giant rat against human leader, human archer and a dwarf) were pitched in a limited space of a dungeon room.
As usually, I am on a business trip and I have limited resources, so for this test I used grid instead of sticks, counting one square as short, two as medium and 3 as long distance. Figures are 10mm scale.
The beginning of the game favored dungeon monsters, as orc archer made a gruesome kill on human shooter.
But high Quality of attackers showed itself here, they got over the gruesome kill, ganged on troll and sent him out of action.
Then orc archer missed his shot, rat recoiled from a dwarf and looters were able to gang on remaining orc again. Orc went prone, and then rolled turn-over, so heroes used lethal attack to finish the game (animals automatically escape once last non-animal model is killed).
The game was fun, and the new traits really give color to characters.
Of course, when playing, my main concern was how will the new rules influence possibility for solo games.
To my surprise, it seems that advanced version will be easier to transfer into solo game than the original one. The goal for the future is to define the way NPCs will use reaction based on their role in the warband (shooter will probably move away from the melee, etc) and this will make them more automated, more realistic, and therefore a bigger challenge for the player.
I am looking forward to delving deeper into this rules.
Monday, March 30, 2015
Dwarfs on the roll
One of my projects at the moment is to play solo some scenarios form One-Hour Wargames book by Neil Thomas, using different rules and armies.
For my first try, I opted for Scenario 5: Bridgeahead, using orcs as players army (blue side) and dwarfs as system driven army (red side). Ruleset of choice was Song of Blades and Heroes, and since the red army have clear objective, I played using Dogui's simple rules for enemy activation.
The game was fun, although it was mostly decided by dice. It was the worst dice rolling I have ever seen, as presented on photos below. Orcs, as rep 4, were totally disorganized, and had turnover after turnover, even after the leader appeared in turn 6 - as seen they failed to move from the base line.
Dwarfs moved, killed orcs that did managed to move, then killed troll, then bumped into orc line and send them running.
Dwarfs move, orcs stand.
First battle. My dice are of course red. Orc is C1 as outnumbered and after power blow. 3 is rolled. Dwarf is C4. 6 rolled. One orc dead.
Dwarfs move on.
Another combat, another orc dead.
And another.
Troll comes to defend the bridge!
But gets killed.
Finally some luck. Good shot, and orc archer kills a dwarf.
But dwarfs just press on, and orcs are driven from the table.
Better luck next time. I will have to repeat the scenario, to see if I can get better than this.
Wednesday, February 18, 2015
Revenge!
After the loss in the last game, I wanted revenge.
So, I prepared a new squad, consisting of Guard cavalry officer, Polish Lancer, Light infantry NCO, 2 Light infantry Voltigeurs and Light infantry Chasseur.
The British squad was the same as in the last game.
I moved first, so I sent one Voltigeur into forest, while another Voltigeur and Chasseur moved to defend a hedge. I positioned Lancer to the right of the hedge, while officer and NCO wisely stayed behind.
In British turn, infantry moved from behind the building and fired, but missed. British officer ordered group move. Royal Blue moved forward, found himself in danger zone from the Voltigeur defending hedge, so charged the group behind the obstacle to avoid being hit. The Chasseur that was first in the line of charge got afraid, and quit the field. Voltigeur just retreated a little, so that Royal Blue found himself in the contact with Lancer only.
Light dragoon also moved, and found himself in the danger zone from the Voltigeur in the forest, so he charged there.
Hussar wanted to help Royal blue and charge Lancer, but failed morale test and joined combat against Voltigeur in the forest instead.
In turn 2, Polish NCO fired at British officer but missed.
Then, I decided to risk again and send my officer into action (after all, he is guard cavalry and a CC killing machine!). He charged Hussar, and made him fall. Then, Voltigeur from the forest also attacked Hussar and sent him Out of action.
Lancer attacked Royal blue and send him Out of action too. He had another action so he moved in contact with British officer who passed morale test and stayed in CC.
British line veteran reloaded and fired at Polish officer, who recoiled. Rifleman reloaded. Light Dragoon attacked Voltigeur and send him to the ground.
British officer tried to attack Lancer, but stood no chance and fell down.
In next turn, Lancer took the advantage over the fallen enemy officer, and scored instant kill.
That was enough for the remaining British soldiers, who decided to run off the table.
Sweet revenge :)
The game was once again decided by successful morale test. When fear causing Lancer approached British officer, he made a morale test on 3 dice at 4+ and rolled 5, 6, 6 staying this way in CC that would become his doom. If he would failed at least one die, he would move away from danger to support his infantry, in which case the game would certainly last few turns longer.
Wednesday, February 11, 2015
Short affair
It has been a while since I played a game of Song of Drums and Shakos. And to be honest, I kinda started to miss the rules, so I decided to come back to them.
Therefore, here is my first report from a game played with 6mm figures, on 30x30cm board, and using sticks of 60, 40 and 25mm.
As usually, I am running French/Polish side, while British forces are under command of my own Lone Shako solo SDS engine.
My forces consisted of Light cavalry officer, Polish guard lancer, Light infantry NCO and 3 elite voltigeurs. After that I had just enough points to add a National guard model, and that gave me idea for scenario. National guard model represents a young sibling of famous Spanish noble who is supporting French cause. If I manage to lead him out of the field through the enemy board edge, I will win. If he gets killed or if he runs away, NPC British side will claim the victory.
British side fielded Light cavalry officer, Light dragoon, Hussar and Royal Blue, Line infantry NCO, Line infantry veteran and one member of the rifles. British side was rolled randomly on the British list in the book.
It all started good for me, with British side rolling two early turnovers, and that allowed me to move my light troops into forest.
Then, British cavalry separated, with Royal Blue and Hussar going to the left of the lake, and Light dragoon to the right.
I used occasion to charge Light dragoon with my fear causing guard Lancer, but Dragoon stood his ground. So, I sent my officer to support his Polish countrymen.
Unfortunately, Royal Blue grabbed the possibility, joined combat and managed to double my officer and send him Out of fight. Leader lost morale test immediately pushed my precious Spanish noble off the table, so it was Game Over, with victory going to British side.
I think that last game of SDS I played some 6 months ago, so I totally forgot that in this game one should not put their officers where they do not belong (read in close combat!).
But the possibility to charge lone Dragoon with Lancer was so sweet that I just could not resist it. And when this charge failed, I could not let my harder hitter face his fate alone, so one thing let to another....
The real hero of this game was British Light Dragoon who passed the 3 dice morale check on 5+. If he had failed at least one die, everything will be different.
Now I am eager for revenge!
Wednesday, April 16, 2014
Song of Blades and Heroes - Spaceship Combat
In agreement with Andrea from Ganesha Games, I can offer you the fan created rules for space combat using Song of Blades and Heroes Engine.
Please note that these are not complete rules. It is just addition for SBH to emulate space combat. You need basic game to play it. You can purchase original Song of Blades and Heroes fantasy rules from here.
Considering scale, these rules are appropriate for fighters dogfights of the Star Wars type.
Of course, larger ships also play big part of equation, while small ships have two major roles: to make kamikaze attacks against enemy capital ships and to protect your capital ships from enemy kamikaze attacks (if you read the rules you will see that many things in them are resolved by ship collisions )
The rules can be downloaded from here (link is now working).
So, If you find time to read the rules, or even better to play them, let me know what you think.
Labels:
SF,
Song of Blades and Heroes,
Star Wars
Sunday, April 7, 2013
Song of stars and void - playtest
Recently, I was lucky to become one of the players Andrea from Ganesha Games sent for playtesting a copy of his new space combat rules called Song of Stars and Void.
I played one game solo, playing both sides, just to get in touch with the rules, before I find a playtesting buddy for this new toy :)
I played a 450 points game, with pregenerated ships, Commonwealth against the Shaggeroths, 2 escorts and 1 Capital ship per side.
Shagaroth Cruiser Achievement got his indirect fire weapons jammed in very first turn...
Some starting manouvering
Commonwealth Cruiser CF Vanguard fires some missiles at Achievement
but Achievement uses manouver around asterid field to get rid of them...
Later in the game, heavily damaged Frigate CF Ettrick leaves the battlefield. CF Vanguard, gets the lucky shot from behind at Cooperation Destroyer, blowing it out of the skies...The game runs very smooth, but it needs some learning curve, befopre a player will be able to use the ships to the best of their posibilities...
I had so many wrong tactical decisions on both sides this time arround, that I decided to quit the game here, and start tomorrow from beginning....
Labels:
SF,
Solo wargames and RPG,
Song of Blades and Heroes
Tuesday, December 18, 2012
Luck of the dwarfs
It's been a while since I had a chance to play any wargame. So today I decided to roll some dice, and I decided to go with game of Song of Blades and Heroes, using solo rules by Mats Lintonsson.
Therefor, my Ratmen warband decided to explore old ruined shrine defended by some pesky dwarfs...
Well, it was one of those games when luck just decided not to cooperate. Any good roll I made belonged to dwarfs warband...
What should be equal fight: Rat ogre (c5!), giant rat and beastmaster against 4 dwarfs, ended with GRUESOME deaths of both my beasts!
Beastmaster returned to the forest, where he was joined by assassin and 2 rat pilgrims. I regrouped hoping that my luck will change, but...
Dwarfs also regrouped, except berserker who moved into contact, without enough actions to attack. So, berserker is heavily outnumbered (c1) and my assassin (c2) moves for a kill with power attack... Aaaaand.... 1 for assassin, 6 for berserker, assasin is nothing less but KILLED!
The rest of my warband just picked up their tails and left the table....
Better luck to me next time...
Subscribe to:
Posts (Atom)